I don't even remember how I came across the Supernova Quilt Along that
Lee @ Freshly Pieced had already started, but when I saw the quilt and read about the concept, I decided, this was something I would love to join. Join I did...even though I had many other deadlines looming, but it just appealed to my core and I had to participate.
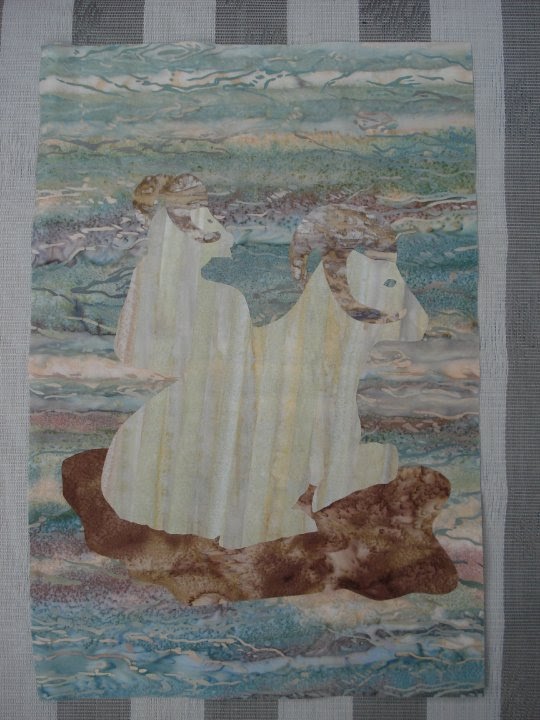
 |
| "Your First Journey" |
I had just finished a quilt which I had designed and made on commission that we called "Your First Journey" ...which used the 'origins' line by basic grey, from moda (for the most part--there is a bit of batik and 'chrysallis')...and I had used bits from a fat quarter pack, with a bit of extra purchased for the borders and a few other fabrics to just fit the project. So...the fat quarter remains, what to do with them? The Supernova blocks seemed to be a great possibility since I could use so many different fabrics in each block.
So, here are the leftovers and my general groupings of them with possibilities for background in the lower right corner. Also using some 'grunge' which looks like some of the 'origins' that read solid.
Now to come up with the specific orderings...I decided a single center 'black' block, and then doubles of the brown, greenish, yellow and whitish groups.
  |
| 4 blocks to make the center 'black' block |
When I looked at the background requirements, I discovered that I really didn't have enough of the 'grunge' white that I intended to use, so thought perhaps the white with green small graph paper and white with flourish print on it could also be used as backgrounds if I chose to put it on strategically. But, to no avail, I still didn't have enough! Maybe if I don't have the cut off triangle at the end I can make it work. So, I carefully considered the sizings and cut quickly to try it. Well, you need to have all fabric pieces right side up to make these intentional directional cuts! So...I needed to re-cut the background pieces. I ended up with enough of the white with green grid and I went ahead and pieced the 1st block using it as the background. Once putting the first block up on the design wall, I realize that I should have paid attention as to which rectangle went the OTHER direction and that should be the OUTSIDE part of the block. That didn't hit me when doing my stitching. So..I had anticipated the dark being next to the dark square, and the florals being on the outside. Given my issues with cutting the first bit, I decided to leave it and press on.

Adding the cross-bars in the black block I decided to put the lighter of the 3 blacks in the middle so that it mimics the way the 'lighter' fabric was in the diagonals and gave some assistance to the idea of a dark middle square, lighter right around it and then darker ring on the outside.
I was able to secure more background that seemed to be the right progression to use in the outside border (it is the 'grunge' line that is white with a hint of yellow) at my LQS "stash", so used the big piece of 'grunge' (white with hints of green) to make the remaining blocks' backgrounds. Unfortunately, I was hasty in cutting and since I had already made one block, I didn't need to cut as many strips for the remaining 8 blocks and cut the 3" squares --all 72 which I didn't need and so came up short by 1 strip for the 5.5" rectangles. I salvaged this by cutting all of my 5.5" rectangles NOT as rectangles, but as two rectangles put together and a single diagonal cut with enough seam allowance on both sides to get a 5.5" edge.

TIP 1: This means cut 8 7/8" x 3" and then measure 5.5" on one edge (to the sewing line), then put a 1/4" seam allowance on the diagonal (cutting line) and you're good to go--cutting in the correct diagonal direction of course (yes, screwed that up once too!) In the picture the dashed line is the sewing line and the solid line is the cutting line. Since all of the rectangle backgrounds are cut the same direction, this single cut gives you two correct pieces of background without having an extra triangle cut off after sewing it to the other piece. Stack all of your background fabric strips with the right side up and you'll get lots of pieces cut simultaneously. It also means you don't have to mark your pieces to sew them since your 1/4" seam is already allowed for, just sew a 1/4" seam. In part this was necessary because I could not get 44" widths out of my background fabric and I didn't really want to go buy more.

TIP 2: To assist with the 'marking' or lack-there-of...I also used 'The Angler 2'. This is a plastic template/guide that you tape into the base of your sewing machine with the center line headed straight into your needle position.

In the second photo you can see that the tip of the white background fabric closest to me is right on the center line. You just keep that tip on the center line all the way to the needle. No marking required!
So...now I had an extra single rectangle at the end of each strip (7 strips) and so only needed one more rectangle that I then had to piece using two 3" squares. Not too bad. btw...this trick can also be done with the 3" squares and print rectangles, but I didn't hassle it as I had plenty of that fabric and needed to get on with my piecing!

Moving on to the brown block, I had a couple of directions that I could go and decided to try and mimic the black block rather than stick with my original color progression. I used my camera to try out some of the placements before making final cuts, but it went fairly quickly and I was able to make both brown blocks without screw ups.
It was then very late at night but I was so into this I stayed up for another 1.5 hours playing with the color placements for the remaining three colorways of blocks. Mostly undecided in the greens because of the couple of very dark greens and then the rest are this mid-tone avocado green. I really wasn't happy and by 12:30am decided it was time to get some sleep.
I had literally taken about 20 pictures of the greens (
flickr albums of trials) the night before, but in the light of day decided I needed to look at my original color placement and what I did with the black block and then re-think each of the colorways. Lee's suggestion to take photos of your original color placement came in handy. I printed them out and re-evaluated the situation. Again the white and yellowish blocks came together a bit quicker, but the green one still had some issues. My original thoughts -- I'm really drawn to the dark green and want it to help balance the brown blocks but then transition to the yellow blocks. This desire, prompted me to stick with my dark green and work on getting the transition to the lighter to be ok. This meant removing some of the greens--I did have 8 in that stack, so that was ok -- REALLY! (convincing myself) and pulling a floral from the whitish block and using it in the green. I also pulled the white w/green flourishes and yellow flourishes into the mix which I had saved as a background and border bits respectively, but decided at this point that I really needed it to be part of the whitish block and against white, it would read a light green, and the yellow block respectively. It really is relative to what it is next to. And besides... I didn't need them for background/borders anymore!

The original specifications called for 13" pieces to be the ends of two borders. They really should be 12.5". Also, Lee calls for 44" width of fabric and uses every bit of it, so make sure you have that, otherwise you'll need more background strips than she indicates in the pattern. Most fabric does not have USABLE 44", with selvage, maybe, but generally when planning I expect there to be 40" and if you have a bit or need to fudge that a bit, you probably can, but NOT typically 4"! So...even though I bought fabric for the border, one of the pieces I had to use something from my stash--it is very very close, so is hard to tell it is different. Still in the same line of fabric.
Lee also talks about pressing seams open, which given the number of angles on this I can understand to some degree, but with any of the straight bits, alternating their direction of pressing makes for a much stronger quilt. Just saying.
Due to my personal time constraints and wanting to put this in the show this weekend, I'm using a fat back --meaning all one piece, out of a yellowish/pinkish batik. I did lay out my leftover 'origins' fabrics and probably could have come up with a backing, but decided I'd rather keep the scraps for something more exciting on the front of a quilt than slapping it on the back.
Batting
I had some leftover wool strips, so pieced them together with a serpentine stitch--butted up against each other, to use for this quilt.
Most modern quilts just have stipples on them, but I wanted to show these more as explosions, thus the color placement of the blocks that provides a fading of the colors from the center to the outside of the quilt.
Some details of the quilting:
 |
| corner blocks with spines on all printed fabric lines |
 |
middle blocks with spines in white sections;
sometimes adding a few extra bits at the end of the spine |
 |
| center block with spines only on the diagonals |
And here it is....I bound it with scraps of various versions of 'white' from the 'grunge' line.
Here is the back.
Thank you Lee for hosting this quilt-along. A great time, especially watching everyone's quilts evolve through the photos posted on the
flickr group.